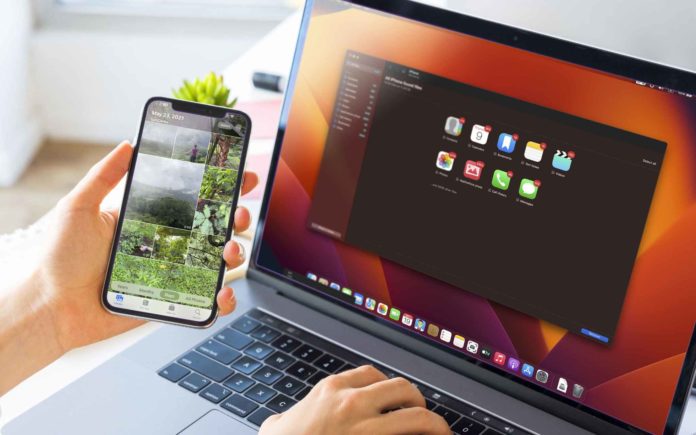
Photos are a good way to remember precious moments. Whether you are an adventurous person or just like capturing memorable moments for future remembrance, organizing your photos and albums comes in handy and will make your memories look wonderful. How to add photos to album on an iPhone? Read on to find out more.
With the average iPhone coming with the ability to hold up to 140 GB of storage, it has become much easier to rack up a high number of photos even up to thousands. But it may not be so easy to locate the exact photos you are looking for amid random snaps. Besides, it even becomes more challenging to retrieve deleted photos on iPhone. That is why you need a Marie Kondo-style of photo storage makeover on your iPhone. We will walk the journey with you.
Not only will cleaning your photo albums help you remove digital clutter, but it will make it easier for you to grasp those memories with ease. However, getting started might be a little big task especially if you have never practiced this before. Thankfully, there are a number of methods that can improve your experience. In this article, we will share a few tips to help you with organizing photos and albums on an iPhone.
Things You Should Know
Before we move into the tips, it is important to know that:
- It is possible to organize your albums by creating folders but not to drag existing albums into folders.
- iPhone photos come with versatile search engines that make it easier to identify people and subjects in your photos. This makes it possible to search your iPhone photos efficiently and effectively.
- Turning on shared albums allows you to create shared albums with iPhone and makes it easier to upload photos in that album only to iCloud, rather than the entire gallery.
Method 1: Delete Duplicate Photos
Duplicate photos clutter your gallery and make it difficult to select the right photos for your memorable moments. Luckily, you can quickly and easily delete duplicate photos with advanced third-party apps with photo analyzing features.
Gemini Photos and Smart Cleaner are just some of the top-rated duplicate photo remover applications that you can find on the App Store. They make it easier to locate and delete duplicate photos on the iPhone. Deleting duplicate photos on iPhone is therefore made seamless with these apps. However, you can still excel at manual selection and deletion if your gallery has just a few photos.
Method 2: Use iCloud Photo Storage
Creating albums on the iPhone is a good way to organize your photos. This method lets you store your iPhone photos in a more organized manner in iCloud. The good news is that iCloud makes your photos available any time across devices by providing virtual storage. Follow the steps below.
Step 1: Open “settings” on your iPhone.
Step 2: Locate your name at the top of your screen and tap on it. It should take you to the Apple ID settings where you can locate iCloud settings.
Step 3: Tap iCloud. you should be able to see the amount of iCloud storage space available to you. iCloud allocates 5GB free space. You can however get more space by upgrading to iCloud+ and buying more space.
Step 4: Now click on “Photos” to open the iCloud Photos menu. Here, you will access the following options:
- Sync this iPhone: This option allows you to sync all the photos on your gallery to iCloud. You however need to be sure that the photos have been organized and duplicates removed before activating sync.
- My photo stream: This option will sync photos that were taken in the last 30 days only.
- Shared albums: This option allows you to create sharable albums. It helps you create an album where you can move photos before they can sync to iCloud.
Step 5: Move to your desired iCloud photo settings to finish.
Method 3: Create Albums
Creating photo albums has been one of the oldest ways to organize photos. With digital photos in your gallery, creating albums is still a wise way to clean your gallery and make the photos easier to locate. Follow the steps below.
Step 1: Open the Photos app and select albums at the bottom of the screen.
Step 2: While in the albums view, click the + button in the top left then select “New album.” On the pop up that appears, insert a name to provide name to the new album then tap “Save.” Once done, you should get a prompt to add photos to your new album.
Step 3: Click on the photos you want to add to the album and tap “Save” to end the process. If you do not intend to add photos at this time, click “Cancel” in the top left and an empty album will be created.
Method 4: Tap people
Tagging people is one clever way to organize your photos and albums. It makes your photos easily identifiable and seamless to organize. Here’s what to do.
Step 1: Open the photos app. Your iPhone will attempt face detection and will sort the photos in groups under the “People” album.
Step 2: Go to the bottom of your screen and select albums.
Step 3: If you have photos taken with the same person multiple times, your iPhone should list all the people in different groups if the people are all detectable. Tap “People” to be able to do this.
Step 4: Tap one of the Groups followed by “Add Name” at the top of the screen. At this time, you will be able to add the name of the person. This will make sorting easier and finding the picture becomes much easier in the future.
Step 5: once you type in the names, click “Next” followed by “Done” to confirm the name entered. Additionally, if the person is a contact in your phone, you have an option to link the photo to the contact by tapping the name of the contact when you type in their name.
Method 5: Delete Unnecessary Screenshots
Screenshots are generally more temporary since they are taken to send to someone quick in many cases. There is therefore no need to keep them in your folder for too long. Luckily, iPhones have a dedicated screenshots folder you can easily access and send unnecessary ones to the trash.
Method 6: Use Photo Organizing Apps
Photo organizing apps such as Google Photos and Amazon Photos are a wise way to organize your photos today. They offer AI-assisted search together with cloud storage options. The good news is that they also offer free storage space of between 5GB to 15 GB depending on the app you choose. Further, some of these apps will also help you recover deleted photos on iPhone.
Conclusion
Organizing your photos into iPhone photo albums and folders might seem to be a hard task in the beginning. However, it pays off at the end with a well-organized album that shows you the right photos with ease whether you are searching them by name or even by date.


